Keeping your kitchen tiles clean is essential for a fresh and hygienic cooking space. Over time, kitchen tiles can gather grease, stains, and grime from daily cooking activities, making them harder to clean. This guide will help you achieve a clean kitchen tile surface while still maintaining the beauty and quality of your tiles.
Table of contents:
- Main items for cleaning kitchen tiles
- The process of cleaning kitchen tiles
- How to clean kitchen floor tiles
- Tips for maintaining clean kitchen tiles
Main Items for Cleaning Kitchen Tiles
Before you start, gather the right stuff to ensure safe and effective cleaning. Here’s what you’ll need:
- Microfiber cloths. They are ideal for wiping tiles and preventing streaks.
- Non-abrasive sponges. These help lift dirt without scratching the tile surface.
- Tile cleaners. Choose a cleaner suited to your tile type (e.g., ceramic, stone).
- Grout brush or old soft toothbrush. A must for cleaning grout lines where dirt often accumulates.
- Rubber gloves. The safety of your skin should always be a priority when you are doing any cleaning work. This case is no exception. So please wear your gloves to protect your hands from chemicals and irritation.
- Baking soda and vinegar (Optional). For natural, mild cleaning solutions in areas where grease accumulates.
Once you have these items prepared, you can start the first step.
The Process of Cleaning Kitchen Tiles
Before you begin scrubbing, clear any items near the tiles, such as small appliances, dish racks, or other kitchen items, to give yourself enough space to clean thoroughly. Dust the tile surface with a dry microfiber cloth to remove loose particles. This step prevents dust from mixing with your cleaning solution, which can create a muddy mess.
How to Clean Kitchen Wall Tiles
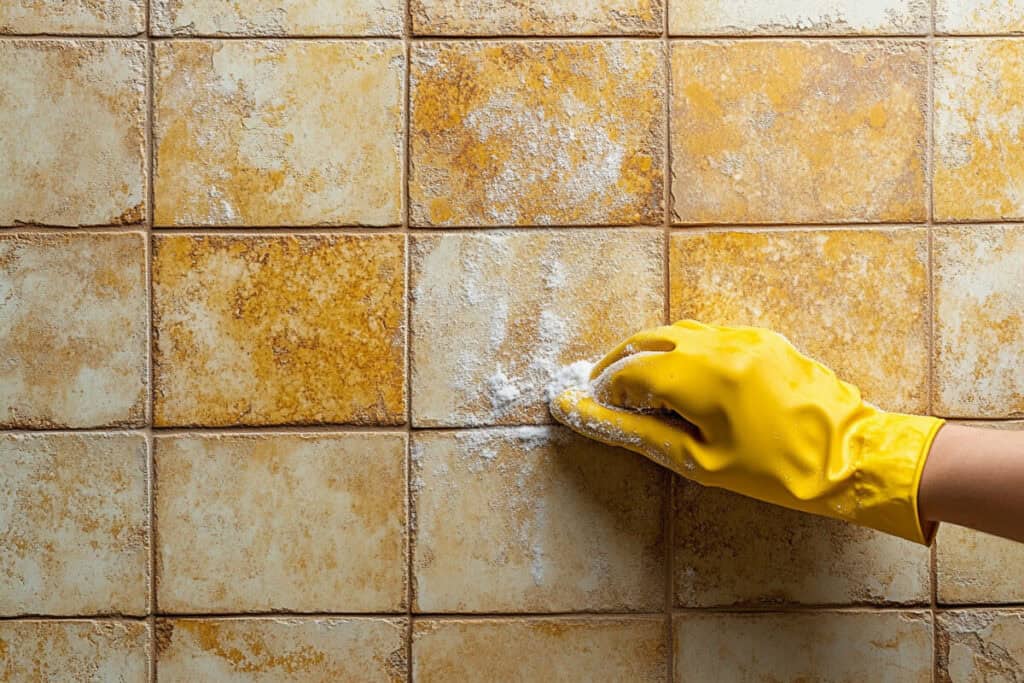
Kitchen wall tiles, particularly those behind the stove, can collect grease splatters, food particles, and sticky residue. Cleaning these tiles regularly helps avoid the buildup that becomes difficult to remove over time.
1. Pre-treat greasy spots
Start by applying a degreasing agent or tile-specific cleaner directly to any visible grease spots. Let it sit for a few minutes to loosen the grease before wiping. A general-purpose kitchen cleaner or a cleaner specifically designed for ceramic or porcelain tiles works best for these areas. Avoid acidic cleaners if your kitchen tiles are natural stone, as they can damage the surface.
2. Wipe down the tiles
Use a non-abrasive sponge dampened with warm water and your chosen cleaner. Gently scrub in circular motions, focusing on areas with visible stains or buildup. Avoid excessive scrubbing, as it can damage delicate tile finishes. Work section by section, and wipe each area down thoroughly before moving to the next.
3. Rinse and dry
Once you’ve finished cleaning all sections, rinse the tiles with a clean, damp cloth to remove any leftover cleaner residue. Use a dry microfiber cloth to prevent streaks or water spots, leaving the tiles with a clean, polished look.

How to Clean Kitchen Floor Tiles
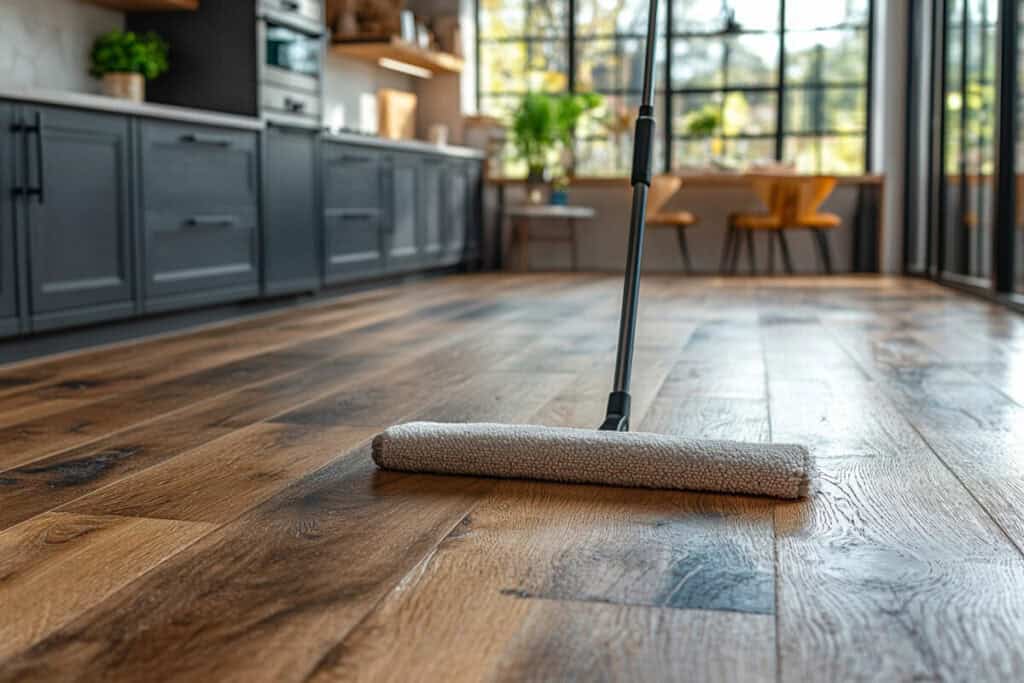
Kitchen floor tiles are prone to dirt, spills, and other debris from food preparation. Regular cleaning helps prevent stains and maintains a fresh-looking floor.
1. Sweep or vacuum first
Before mopping, sweep or vacuum the floor to remove dust and debris. This prevents particles from scratching the tile surface and helps the cleaner work more effectively.
2. Mop with a suitable cleaner
For ceramic and porcelain tiles, use a mild, tile-specific floor cleaner. Avoid using too much water, as excess moisture can seep into grout lines and cause mould. For natural stone tiles, use a pH-neutral cleaner to avoid damaging the tile finish. Mop the floor gently, focusing on sticky or stained areas.
3. Dry the floor
After mopping, dry the floor with a clean microfiber cloth to prevent watermarks. This is especially important for kitchens, where floors can become slippery if left wet.

Cleaning Grout Lines on Kitchen Tiles
Grout lines often trap dirt and grease, making them look discoloured over time. A little extra care keeps grout lines looking clean and fresh.
1. Apply a baking soda paste
For mild stains, mix baking soda and water to form a thick paste. Apply it to the grout lines with a grout brush or an old toothbrush, scrubbing gently. Let it sit for 5–10 minutes before rinsing.
2. For stubborn stains, use a grout cleaner
If the baking soda paste doesn’t lift all the stains, use a commercial grout cleaner. Spray or apply the cleaner to the grout lines and follow the manufacturer’s instructions for scrubbing and rinsing.
3. Rinse and dry
Rinse away any remaining cleaner with water and wipe the grout lines dry with a cloth to avoid moisture buildup.
Tips for Maintaining Clean Kitchen Tiles
Keeping your kitchen tiles clean doesn’t have to be difficult if you incorporate a few simple habits into your routine.
1. Wipe tiles after cooking
To prevent grease buildup, wipe down wall tiles with a damp cloth after each cooking session. This quick routine keeps your tiles clean and reduces the need for deep cleaning.
2. Use a splatter guard
If you cook frequently, consider using a splatter guard to minimise the amount of grease reaching the wall tiles behind the stove. This reduces the need for regular degreasing.
3. Seal grout lines
Sealing grout lines every six months can help protect them from absorbing grease and stains. A grout sealant acts as a barrier, keeping grout cleaner for longer and making it easier to maintain.
4. Avoid Abrasive Cleaners
Abrasive cleaners and scrubbers can scratch tiles, especially if you have natural stone tiles. Always choose non-abrasive cleaning products and tools to maintain the tile’s original finish.
Conclusion
Regular cleaning and a few simple maintenance habits go a long way in keeping your kitchen tiles looking fresh and spotless. By using the right cleaners and techniques for each tile type, you can tackle grease, stains, and grime without damaging the surface. With these tips, your kitchen will remain clean, hygienic, and inviting, enhancing both the look and functionality of your cooking space.

